


What Is a Rental Inspection Checklist?
A rental inspection checklist is a written document that records the condition of every area of a rental property at a specific moment in time. Landlords and tenants use it to create a shared, signed record of what the property looked like when the tenant moved in, and again when the tenant moved out. Each room is reviewed systematically, with notes on the state of walls, floors, ceilings, doors, windows, fixtures, appliances, and any other relevant features. Both parties sign the completed form, turning it into a mutual agreement about what they observed.
The central purpose of the document is to protect the security deposit. At the end of a tenancy, landlords are permitted to deduct from the deposit only for damage that exceeds normal wear and tear. Without a documented baseline, proving what condition the property was in at the start of the tenancy is nearly impossible. A signed checklist eliminates the ambiguity. It shows exactly what was documented at move-in, and a matching checklist at move-out shows what changed. When the two match (apart from ordinary wear), the deposit should be returned in full. When they show damage, the landlord has a documented basis for deductions.
Photographs and video are essential companions to the written checklist. A well-written description of a wall scuff is useful, but a timestamped photograph of it is harder to dispute. Tenants and landlords alike benefit from photographing every room at move-in and again at move-out, storing copies securely, and keeping them accessible long after the tenancy ends. Courts in landlord-tenant disputes regularly cite photo documentation as a deciding factor.
Some states have made inspection checklists a legal requirement. Others leave it to the parties. Regardless of state law, the practical value is the same everywhere: a signed checklist is the single most effective tool for preventing deposit disputes and resolving them quickly when they arise.
Photo Documentation
Timestamped photos supplement the written record and are difficult to dispute in court
Mutual Signatures
Both parties signing creates a shared agreement on property condition at the start of tenancy
Deposit Protection
A documented baseline separates legitimate damage claims from pre-existing conditions
Inspection Checklist Form Preview
Our checklist covers every room and area of the property in a clear, room-by-room format with space for move-in and move-out condition side by side.
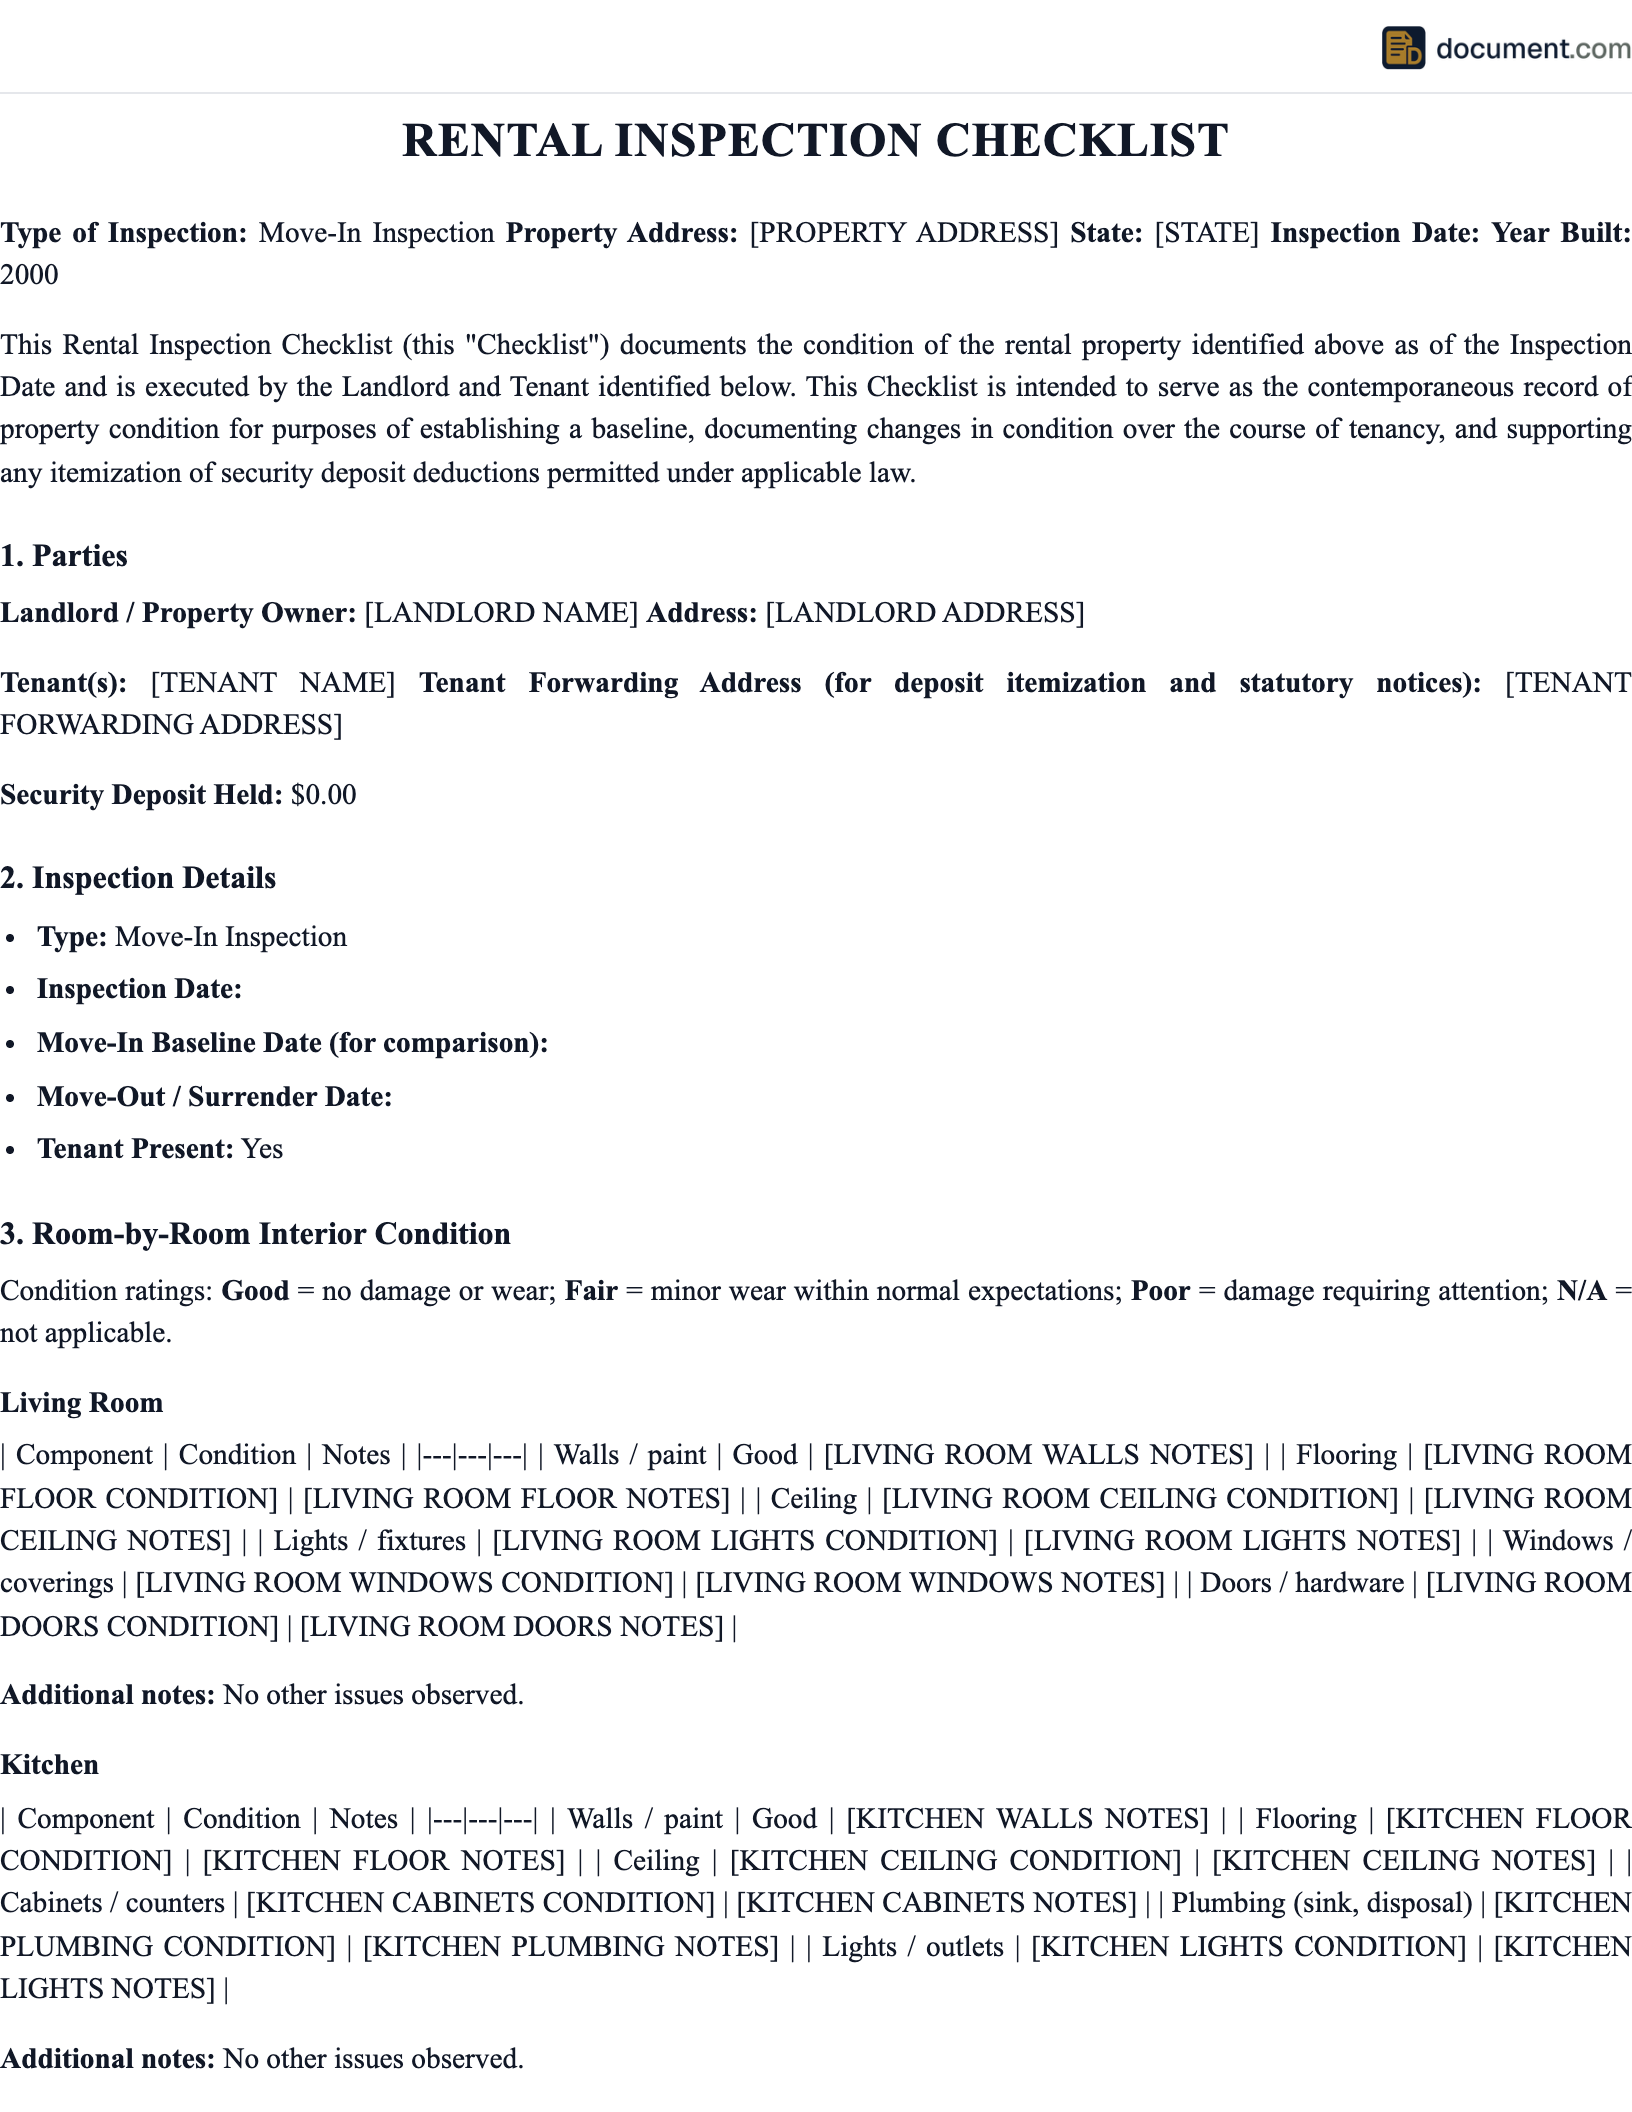
RENTAL INSPECTION CHECKLIST
Property Condition Documentation
PROPERTY & TENANT INFORMATION
Property Address: [Address, Unit #]
Tenant Name(s): [Full Name(s)]
Move-In Date: [Date] Move-Out Date: [Date]
LIVING ROOM
Walls: [Move-In] / [Move-Out]
Floors: [Move-In] / [Move-Out]
Windows: [Move-In] / [Move-Out]
Light Fixtures: [Move-In] / [Move-Out]
KITCHEN
Countertops: [Move-In] / [Move-Out]
Appliances: [Move-In] / [Move-Out]
Cabinets: [Move-In] / [Move-Out]
Sink/Faucet: [Move-In] / [Move-Out]
KEYS & ACCESS
Front Door Keys: [#] Mailbox Keys: [#] Garage Remotes: [#]
SIGNATURES
Landlord Signature: [Signature] Date: [Date]
Tenant Signature: [Signature] Date: [Date]
How to Use the Rental Inspection Checklist
Follow these steps to complete a thorough inspection that will hold up to scrutiny if a dispute arises later.
Schedule Before Keys Change Hands
The move-in inspection should happen before the tenant brings in furniture or belongings. That way, the documented condition reflects the property exactly as the landlord delivered it. Book at least 30 to 45 minutes for a thorough walkthrough of an average-sized unit, longer for large houses or properties with multiple outdoor areas. Bring the checklist form, a pen, and a phone or camera. If conducting a move-out inspection, schedule it after the tenant has removed everything and cleaned.
Go Room by Room Systematically
Start at the front entrance and move through the property in a consistent order. For each room, inspect the ceiling first, then work your way down: ceiling, walls, windows, doors, floors. Do not skip closets, built-in shelving, or small areas like laundry alcoves. Open every cabinet and drawer in the kitchen and bathrooms. Check under sinks for signs of past water damage or current leaks. A systematic approach prevents overlooking anything that could become a point of dispute later.
Write Specific, Located Descriptions
General entries like "floor: ok" offer almost no protection. Write descriptions that specify location, size, and character: "small circular stain on carpet near east bedroom closet, approximately 3 inches in diameter," or "two standard nail holes in north-facing wall of living room." If a surface is in excellent condition, write that explicitly. Do not leave fields blank, since blank entries can be interpreted as overlooked rather than undamaged. Specificity is what makes a checklist useful months or years later when the details are no longer fresh.
Photograph Every Room
Take at minimum one photo of each wall, one of the floor, and one of the ceiling per room. Photograph any noted damage with a close-up shot. Record a short video walkthrough narrating what you see. Make sure photos are timestamped, either by your phone camera settings or by emailing them to yourself immediately after the inspection. Store everything in cloud storage so the files remain available long after the tenancy ends. Both landlord and tenant should each receive copies of all photos taken during the inspection.
Test All Systems and Appliances
Go through every operational component of the property: all light switches, electrical outlets, smoke and carbon monoxide detectors, stove burners, oven, refrigerator, dishwasher, garbage disposal, washer and dryer connections, HVAC heating and cooling, hot water from every tap, all toilets, shower pressure and drainage, garage door openers, door and window locks, and any security system components. Note anything that is not working. This protects the tenant from being blamed for pre-existing issues and gives the landlord the opportunity to make repairs before the tenancy begins.
Document Keys and Access Items
Record the number and type of every key, remote, and access device provided to the tenant: front door keys, back door keys, mailbox keys, garage remotes, gate codes, and any storage unit keys. Both parties should count and confirm these together. At move-out, the same items should be returned. Unreturned keys or remotes are a routine source of small deductions from security deposits, and the move-in record is the only way to establish what was originally provided.
Inspect Outdoor and Shared Areas
Outdoor areas deserve the same level of attention as interior rooms. Walk the yard, patio, balcony, driveway, parking spaces, and garage. Note the condition of fencing, gates, exterior doors, walkways, and any outdoor fixtures or equipment the landlord provides. In multi-unit properties, document the condition of any assigned areas including parking stalls, storage units, and mailboxes. Outdoor damage can be significant and expensive to repair; clear documentation at move-in prevents those costs from falling on the wrong party.
Both Parties Review, Discuss, and Sign
After the walkthrough, landlord and tenant should review the completed checklist together. If there are any items one party would describe differently, discuss them and either agree on a shared description or note both perspectives. Both parties sign and date the final document. Each receives a copy. File the signed checklist with the lease agreement and other tenancy documents, and keep it for the duration of the tenancy plus any applicable record-keeping period under state law.
Key Sections to Include
A complete rental inspection checklist should address every area of the property. These are the core sections that belong in any thorough form.
| Section | Items to Document |
|---|---|
| Property Information | Full address, unit number, landlord name, tenant names, inspection date |
| Living Room | Walls, floors, ceiling, windows, doors, blinds or shades, outlets, light fixtures |
| Kitchen | Countertops, cabinets, drawers, sink, faucet, disposal, stove, oven, refrigerator, dishwasher |
| Bedrooms (each) | Walls, floors, closets, ceiling fan or fixture, windows, doors, outlets per room |
| Bathrooms (each) | Toilet, tub or shower, sink, faucets, mirror, tiles, grout, caulking, ventilation fan |
| Hallways and Stairs | Walls, floors, railings, lighting, smoke detectors, carbon monoxide detectors |
| Laundry Area | Washer and dryer condition or hookup status, nearby walls, floor, any shelving |
| Exterior and Outdoor | Yard, patio, balcony, fencing, parking, garage, mailbox, exterior doors and lighting |
| HVAC and Utilities | Heating, air conditioning, water heater, filters, thermostat operation |
| Keys and Access | Number of front door keys, back door keys, mailbox keys, garage remotes, gate codes |
| Photo Log | Confirmation and record of timestamped photos and video taken during the inspection |
| Signatures | Landlord and tenant signatures with dates for move-in and, when applicable, move-out |
Security Deposit Disputes and Why the Checklist Matters
Security deposit disputes are among the most common landlord-tenant legal conflicts. Tenants believe they left the property in good shape; landlords believe there is damage that warrants deductions. Without written documentation from the start of the tenancy, the dispute becomes a credibility contest with no objective evidence to resolve it.
The Cost of Not Documenting
In many states, a landlord who cannot prove the property was delivered in a specific condition may be barred from making certain deductions. Some states impose penalties on landlords who wrongfully withhold deposits, including double or triple damages. For tenants, the absence of a checklist often means losing deposit disputes even when the damage predated their tenancy. A few minutes of documentation at move-in can protect hundreds or thousands of dollars.
What Courts Look For in Deposit Disputes
- Signed move-in checklist: A document signed by both parties carries far more weight than either party's unsupported testimony
- Timestamped photographs: Photos with clear timestamps establish condition at a specific date and are difficult to fabricate or dispute
- Itemized deduction statements: Many states require landlords to provide itemized written explanations for any deposit deductions within a set timeframe
- Correspondence history: Maintenance requests, repair acknowledgments, and written communications help establish what both parties knew and when
- Wear and tear distinction: Courts expect landlords to account for the age and expected lifespan of flooring, paint, and appliances when calculating deductions
States with Formal Inspection Requirements
A growing number of states have codified inspection requirements. Even in states without a statutory mandate, courts generally treat a signed inspection checklist as the most credible piece of evidence available in deposit disputes.
- Wisconsin: Landlords must provide a written checklist at or before the start of the tenancy; failure may limit deduction rights
- Arizona: Landlords must provide a signed inventory statement; tenants have five days to note any disagreements
- Georgia: Written inspection report signed by both parties required within three business days of move-in
- Virginia: Landlords must offer tenants the right to be present at the move-out inspection and provide a written report of findings
- California: Landlords must give tenants 48 hours notice before the final inspection and provide a written itemized statement of any deficiencies found
Sample Rental Inspection Checklist
Below is a sample excerpt from a completed rental inspection checklist, showing the level of detail that makes documentation useful at move-out.
RENTAL INSPECTION CHECKLIST
Property: [Address] | Inspection Date: [Move-In Date]
LIVING ROOM
Walls: Good condition; minor scuff mark on south wall near baseboard, approximately 2 inches
Floors: Hardwood, good condition; one small scratch near entryway, approximately 3 inches
Ceiling: Clean, no stains or cracks
Windows: All operational; screen on north window has small tear at lower left corner
Light Fixtures: Working; one bulb out in ceiling fixture (noted for replacement)
KITCHEN
Countertops: Good condition; small chip on corner tile near stove, approximately 0.5 inch
Cabinets: All doors and drawers functional; slight wear on two lower cabinet handles
Stove and Oven: Operational and clean; rear left burner knob slightly loose
Refrigerator: Working; ice maker functional; interior clean
Sink: No visible leaks; slow drain noted and reported for maintenance
KEYS AND ACCESS ITEMS PROVIDED
Front door keys: 2 | Back door keys: 1 | Mailbox key: 1 | Garage remote: 1
Landlord Signature
Date: _______________
Tenant Signature
Date: _______________
Frequently Asked Questions
Common questions about rental inspection checklists, how to use them, and what happens when you do not have one.
Official Resources
These government and nonprofit resources provide authoritative information on tenant rights, property inspections, and security deposit law.
HUD Rental Assistance
Federal guidance on renter protections and housing quality standards
CFPB Housing Resources
Consumer guides on rental rights, deposits, and housing disputes
Nolo Renters' Rights Guide
State-by-state breakdowns of inspection requirements and deposit rules
USA.gov Housing Help
Official government resource index for landlords and renters
Related Rental Documents
The inspection checklist works alongside these documents to cover the full rental lifecycle.
Move-In Checklist
Combined move-in and move-out condition documentation form
Security Deposit Return
Itemized deposit return letter with deduction breakdown
Lease Agreement
Comprehensive residential rental agreement
Notice to Vacate
Formal notice to end a tenancy at a specified date
Lease Violation Notice
Document property damage or other lease breaches during tenancy
Rent Receipt
Written confirmation of rent payments throughout the tenancy
Create your Rental Inspection Checklist in under 10 minutes.
Answer a few questions and download a compliant, attorney-drafted document ready for your state.